Site pages
Current course
Adding Files
File Management:-
Uploading a file and File picker
In Moodle 2.0 onwards, each user has a private files area for uploading and managing a set of files. These files can only be accessed you are if you are sharing a course with another teacher.

The private file’s area is accessible via Navigation > My home > My profile > My private files or the My private files block.
It is available as a source within the file picker when selecting files to use in a course.
To add a file to your private files area
- Click Navigation>My profile>My private files
- Click "Manage my private files" button
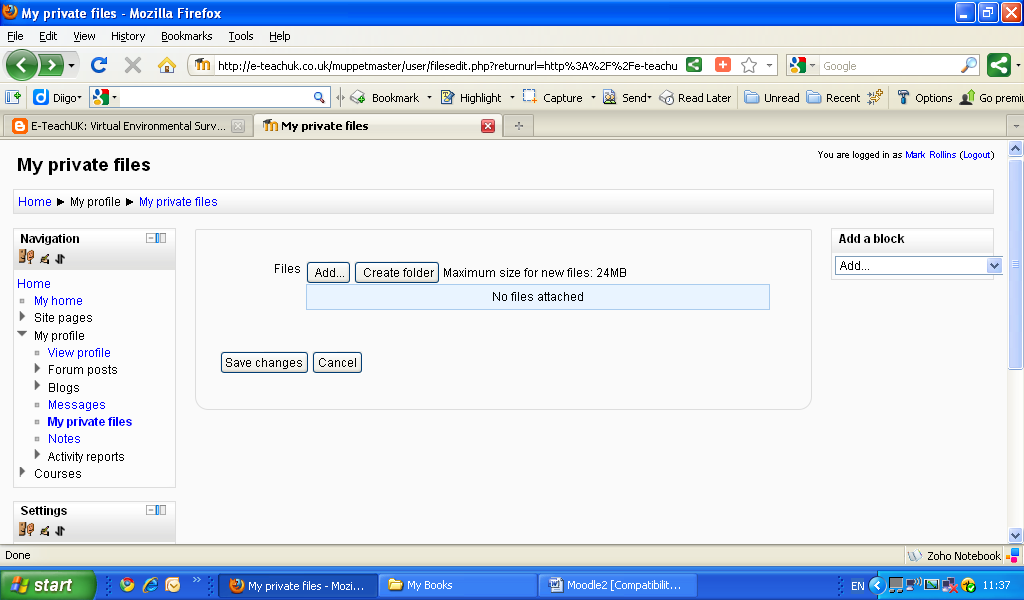
- The standard file picker Add-Create folder popup will appear.
- If desired, create or move to a folder,
- Click on the Add button
- Browse for and select a file
- Click the 'Save changes' button.

- Files can be renamed, deleted, moved by clicking on the icon to the right of the file
Uploading Files within a course
Once you've added a file to your files area, you can easily add it as a resource for your students.
Click on Add a resource and then file in the drop down list
Turn editing on > click add a resources > file
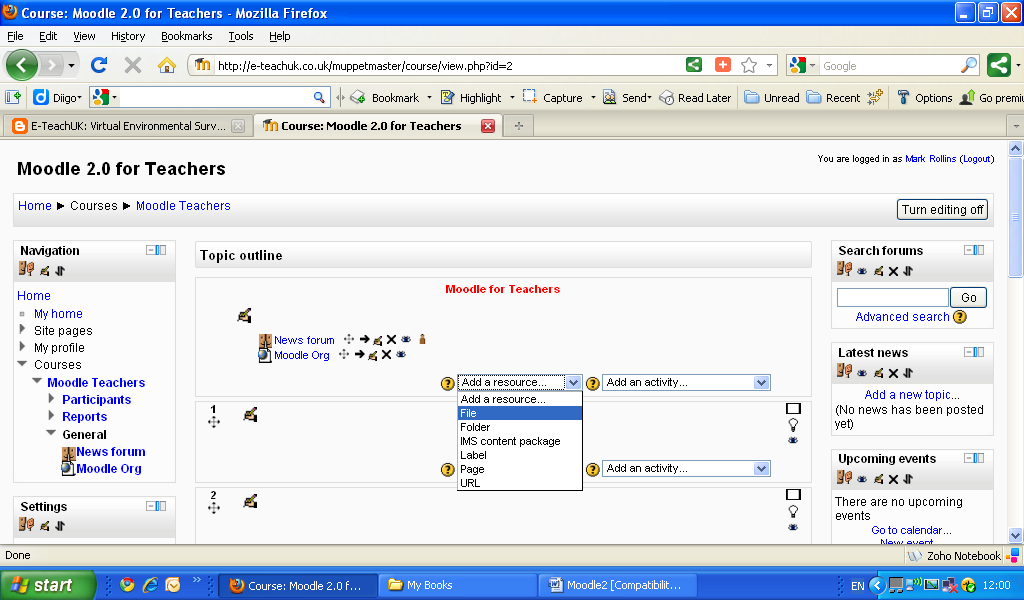
- Give the file a name and a brief description in the HTML editor window (this can be switched off)
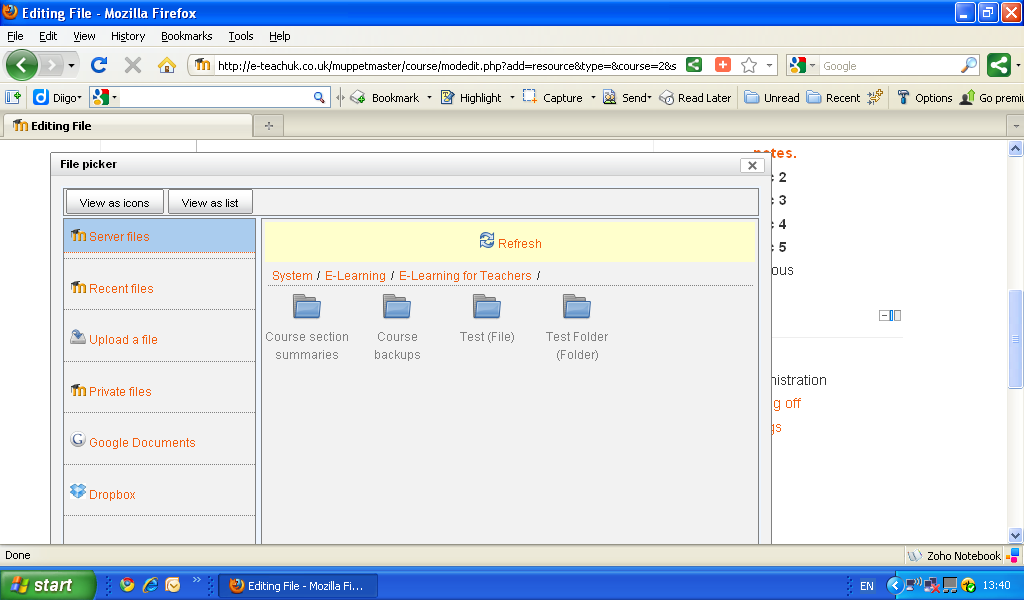
- Then scroll down and click on Add under select files.


- This is the file picker window adjacent to select file.
- Click on upload a file and browse for file to attach.
- Once the file is uploaded click save

Server Files
Are files that are associated with and accessed via..... system> course category> course and can be accessed whilst in the course. These files are available to share across courses and can also be accessed by other teachers on your course.
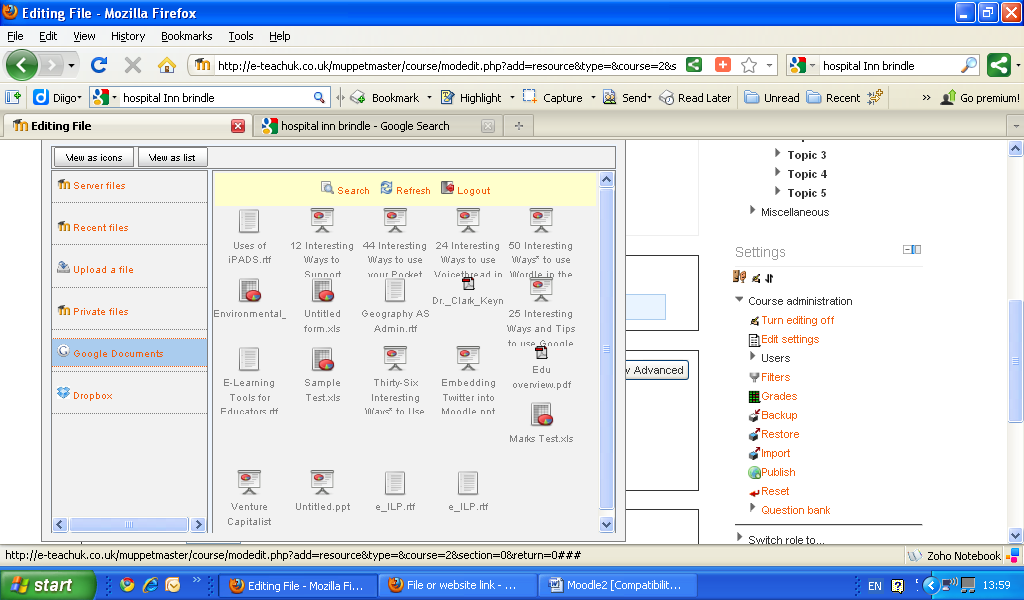
In Moodle 2.0 onwards, files can be upload and stored in a one of a number file repository, with their management via Site Administration > Plugins > repositories including Google Doc, Dropbox, Flickr and Picasa to name a few.
Recent Files
These are files previously uploaded or accessed, that are cached within the File picker area and again can be accessed within the course area.
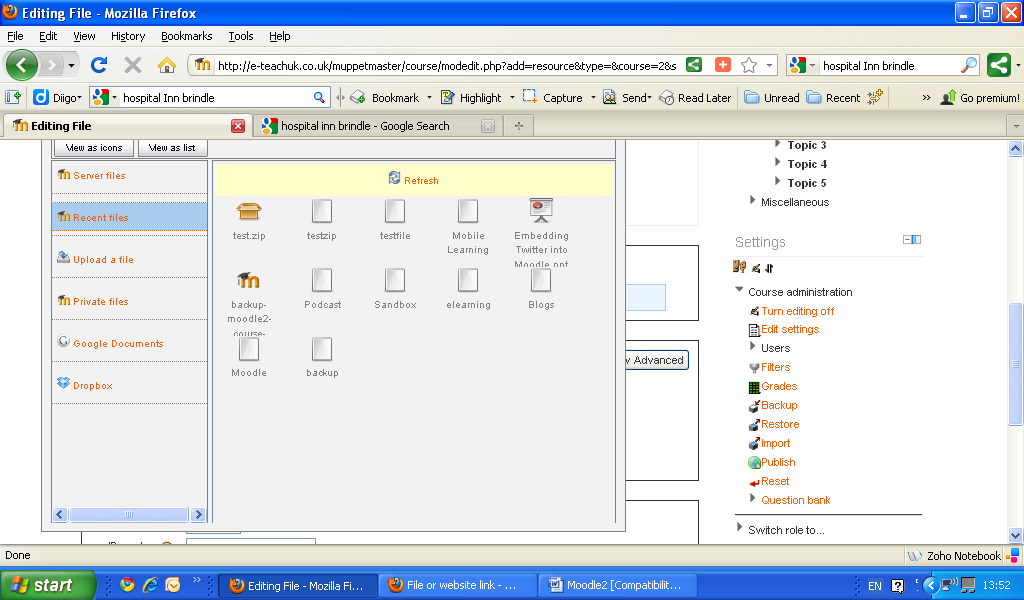
This produces a File Picker repository; these are behind the scenes and cannot be accessed by Students unless you link to them via the course Design and Content area as an Add Resource or Link
If you require to Upload a large number of files it is best to first Create a Folder, then Zip the files you require (for example use Winzip).
These can be uploaded as a Zip file and then Unzipped within Moodle, the procedure is outlined in the next section.
Uploading a Group of Files (Zip and Unzip)
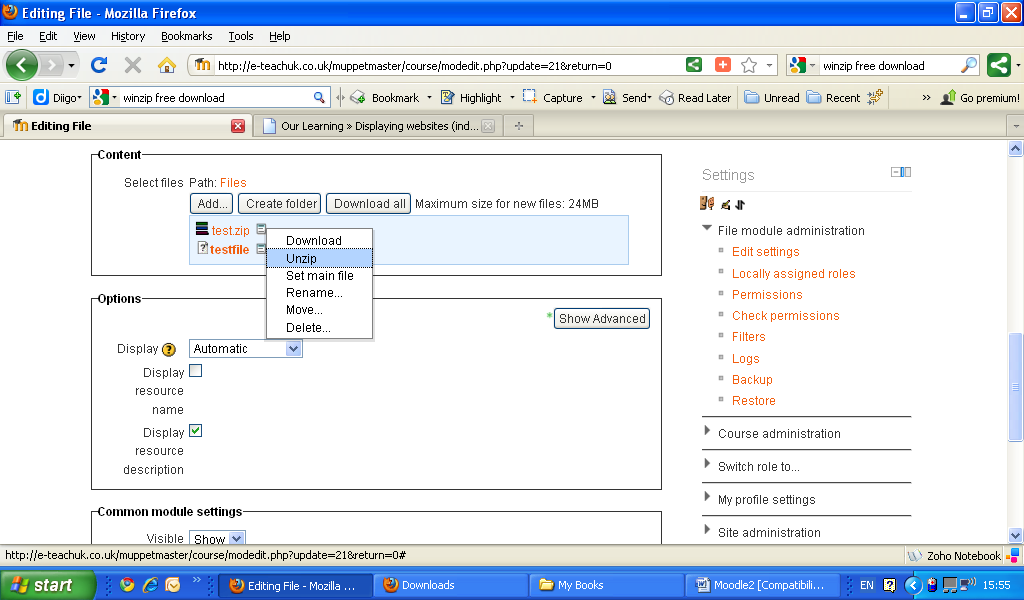
With editing turned on, click on “add a resource” and “File” click on add and upload the zipped folder (ie file).
Click on the icon to the right of your zipped folder and choose “unzip”
Click on your unzipped folder and show all the files inside it.
Last modified: Thursday, 12 September 2013, 4:51 PM